TOPICS
How to edit a user
- Click the Manage Users icon in the left navigation menu.
You will see a list of all of your existing users.
- Click the right arrow [>] beside the user you want to edit.
This will open the user’s profile.
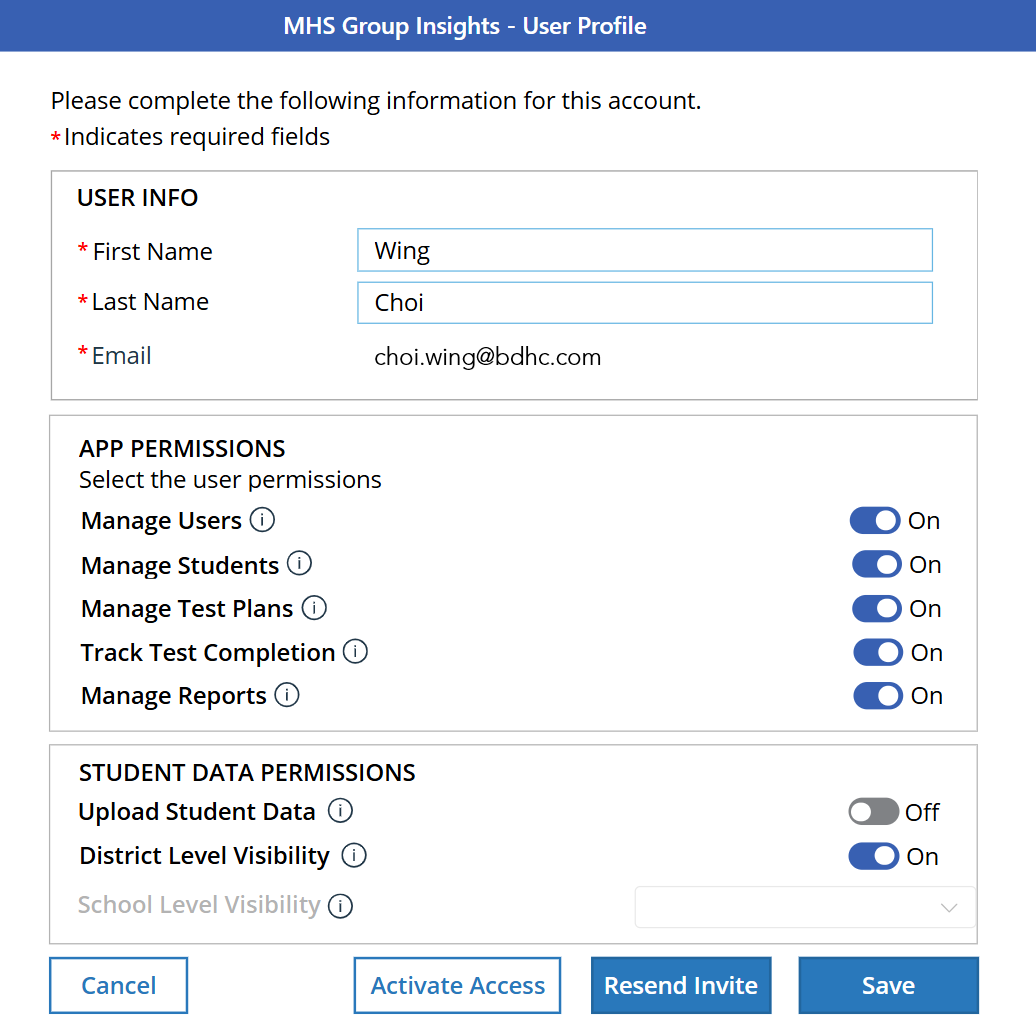
- Make any changes to the user’s information. If you want to modify the the permissions for the user, toggle the applicable permission on or off. (Note: App permissions can only be toggled on for users with the Administration role.)
- Click Save when you are finished.
Please note that while you can edit users, you cannot delete or archive users.
How to resend an email invitation
- Click the Manage Users icon in the left navigation menu.
- Click the right arrow [>] beside the user you want to resend the email to.
This will open the user’s profile.
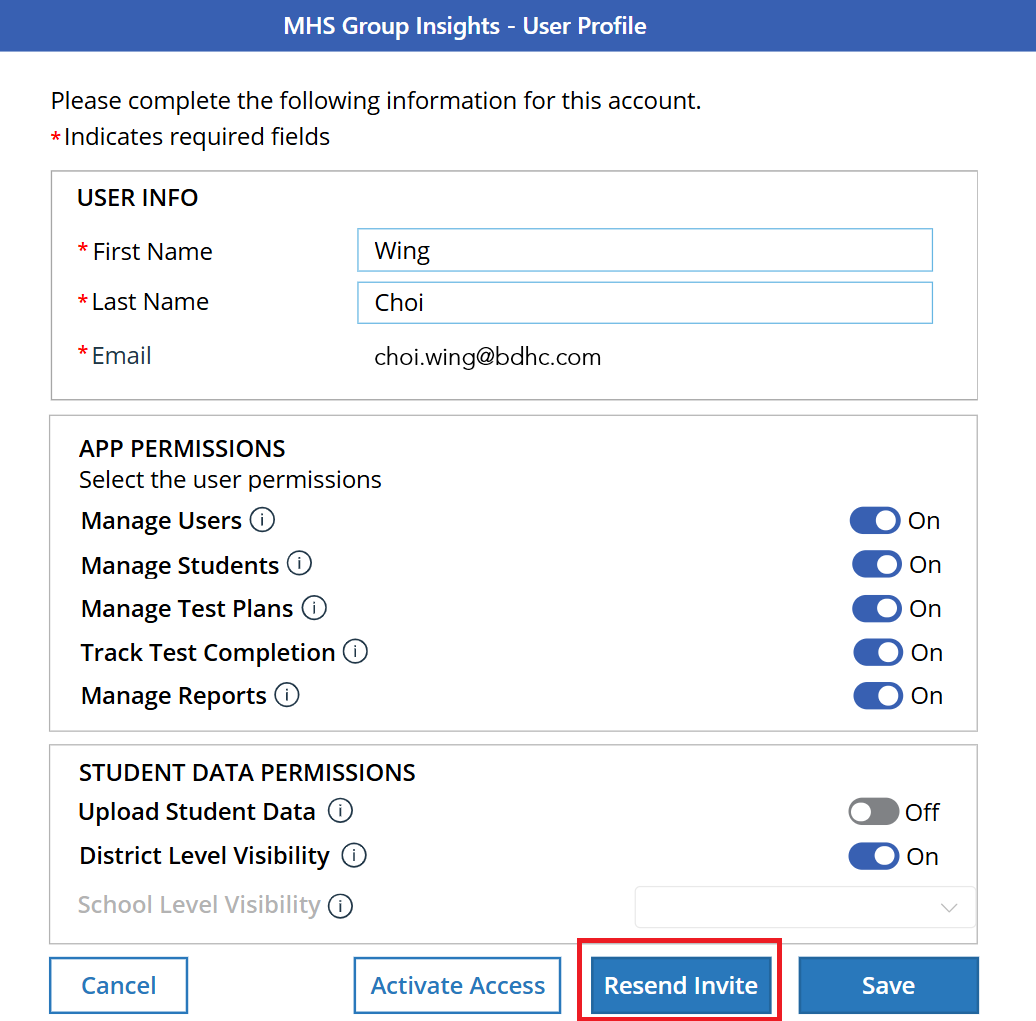
- Click Resend Email. (Note. Only users with the Administration role will receive application emails invitations).
The user will be sent another e-mail with their account information.
- Click Cancel to return to the Manage Users screen.
Terms and Permissions
App Permissions
Manage Users
This permission allows the user to click the Manage Users icon in the menu and access the Manage Users screen, where they can add, edit, and manage user accounts.
Manage Students
This permission allows the user to click the Manage Students icon in the menu and access the Manage Students screen, where they can add, edit, and manage student records.
Manage Test Plans
This permission allows the user to click the Manage Test Plans icon in the menu and access the Manage Test Plans screen, where they can create and download test plans.
Track Test Completion
This permission allows the user to click the Track Test Completion icon in the menu and access the Track Test Completion screen, where they can track completed tests.
Manage Reports
This permission allows the user to click the Manage Reports icon in the menu and access the Manage Reports screen, where they can view and generate reports.
Student Data Permissions
Upload Student Data
This permission allows the user to add student records to the MGI.
District Level Visibility
This permission gives the user access to all student data in their district. Note that District Level Visibility is the default setting.
School Level Visibility
This permission gives the user access to student data from only one selected school. Note that this option is turned off by default. To enable this option, turn the District Level Visibility setting to Off, and then select the desired school.
Currently, you cannot delete or archive a user. If you need to delete or remove a user, please submit your request to MHS Customer Service at [email protected]
Currently, a user can either see data for an entire district or data for one school within that district. There is no option to view data from more than one school without giving the user access to the entire district.