TOPICS
How to upload data to the MGI using Clever Secure Sync
Students must be integrated into the MGI before they can be added to a test plan. The quickest and most secure method to integrate students is to upload data from your district’s School Information System.
Please note that while most students will be integrated through this data upload, you might occasionally need to add a student on an individual basis.
Overview
The MGI supports several methods for data upload:
- Clever Secure Sync– Automated data sync for districts using Clever as their SIS integration platform.
- OneRoster API– Automated data sync from supported SIS platforms such as ClassLink, Infinite Campus, Skyward SMS 2.0, and Synergy.
- OneRoster CSV– Manual upload via web interface or SFTP integration.
The Clever Secure Sync method of upload is described below. For help with the other two data upload methods, please consult OneRoster API and OneRoster CSV.
District Parameters Settings
You must define your District Parameters Settings before you roster your data through MGI.
These parameters align with the type of Testing Measures you will administer your tests with and the rostering data you provide.
Please review the following sections in the MGI Parameter Settings.
- MGI Student Application Testing Measures (recommended)
- Test Distribution by Class through Screening Class Identification
- All Records Processing
Steps to Set Up Clever Secure Sync Integration
- Confirm SIS Compatibility
- Ensure your district uses Clever as its SIS integration platform.
- Submit Clever Rostering Request
- Sign in to your Clever District Administrator account at Clever District Administrator Login.
- In the left-hand menu, go to Applications > Add Applications.
- Search for Clever Rostering and click Request App to initiate the connection.
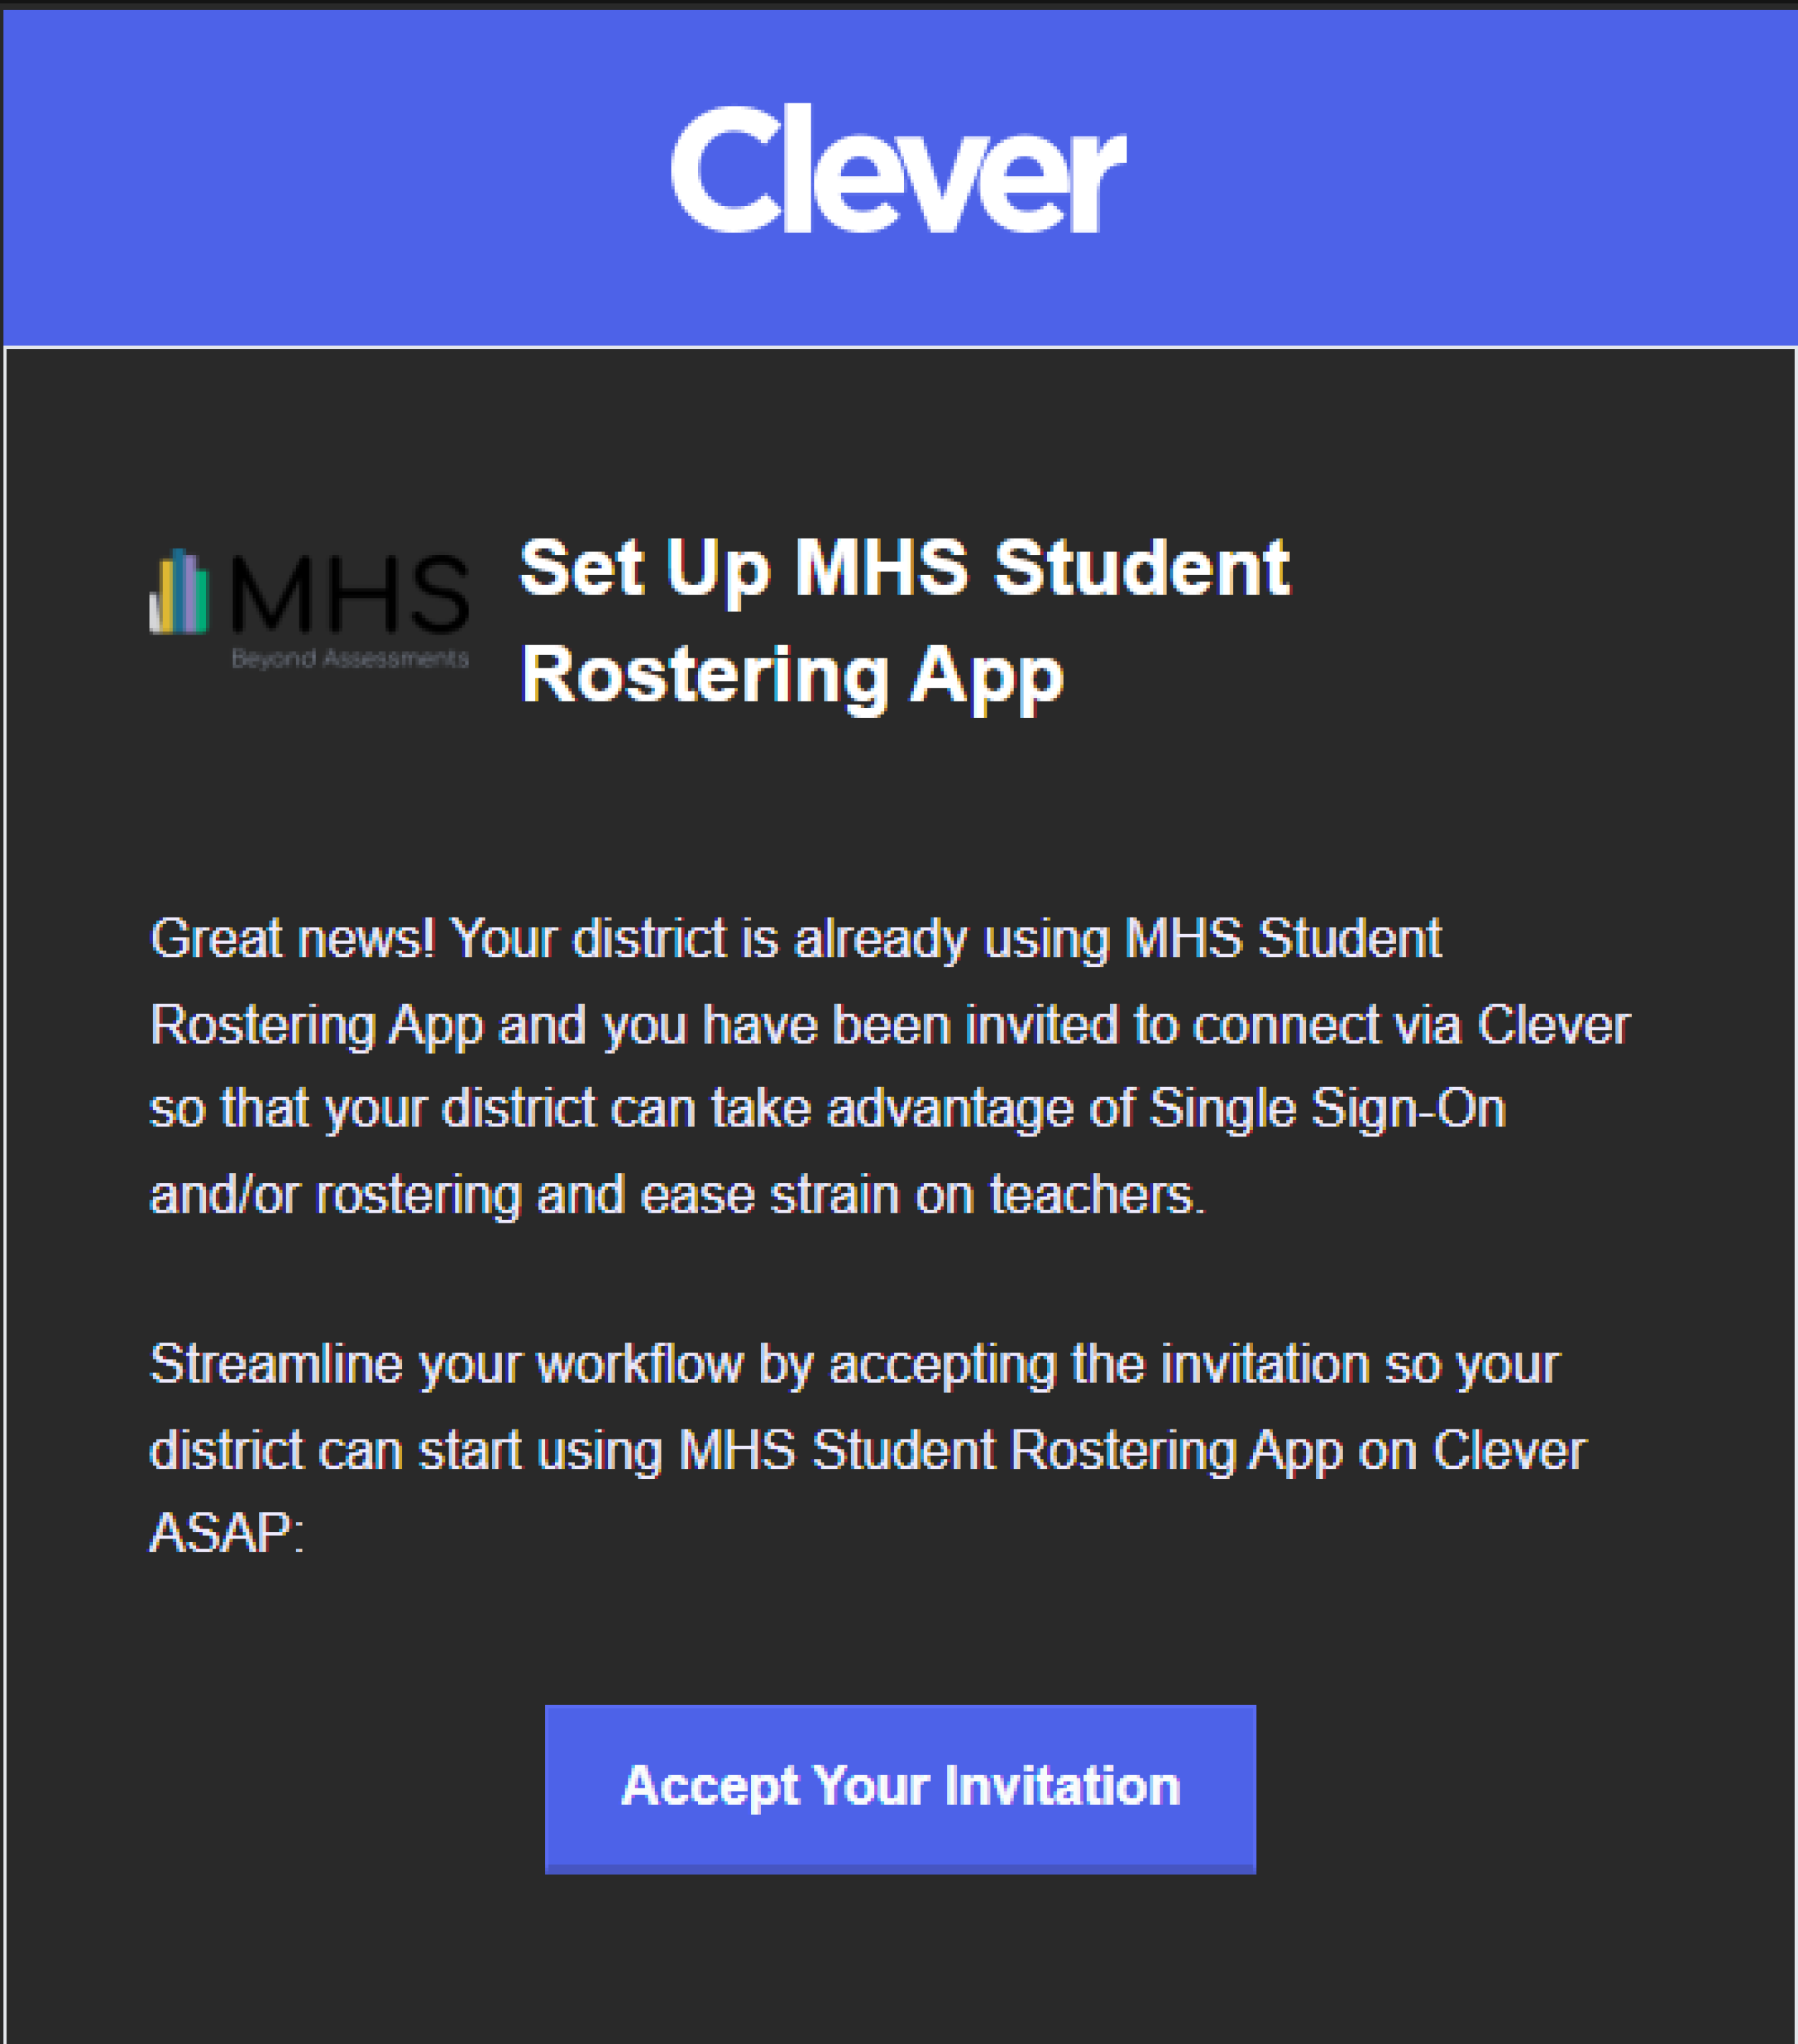
- Alternatively, your assigned Lead Implementation Specialist may invite your district directly to the app.
- If invited, you will receive instructions on how to locate and accept the invitation within your Clever portal.
- For requested connections, the Lead Implementation Specialist will accept the request on behalf of your district.
- The connection must be accepted before any data can sync.
- Complete the MHS Student Rostering App Setup Guide
- Once you've accepted the invitation, you'll need to complete the MHS Student Rostering App Setup Guide in Clever before data can begin syncing. This includes:
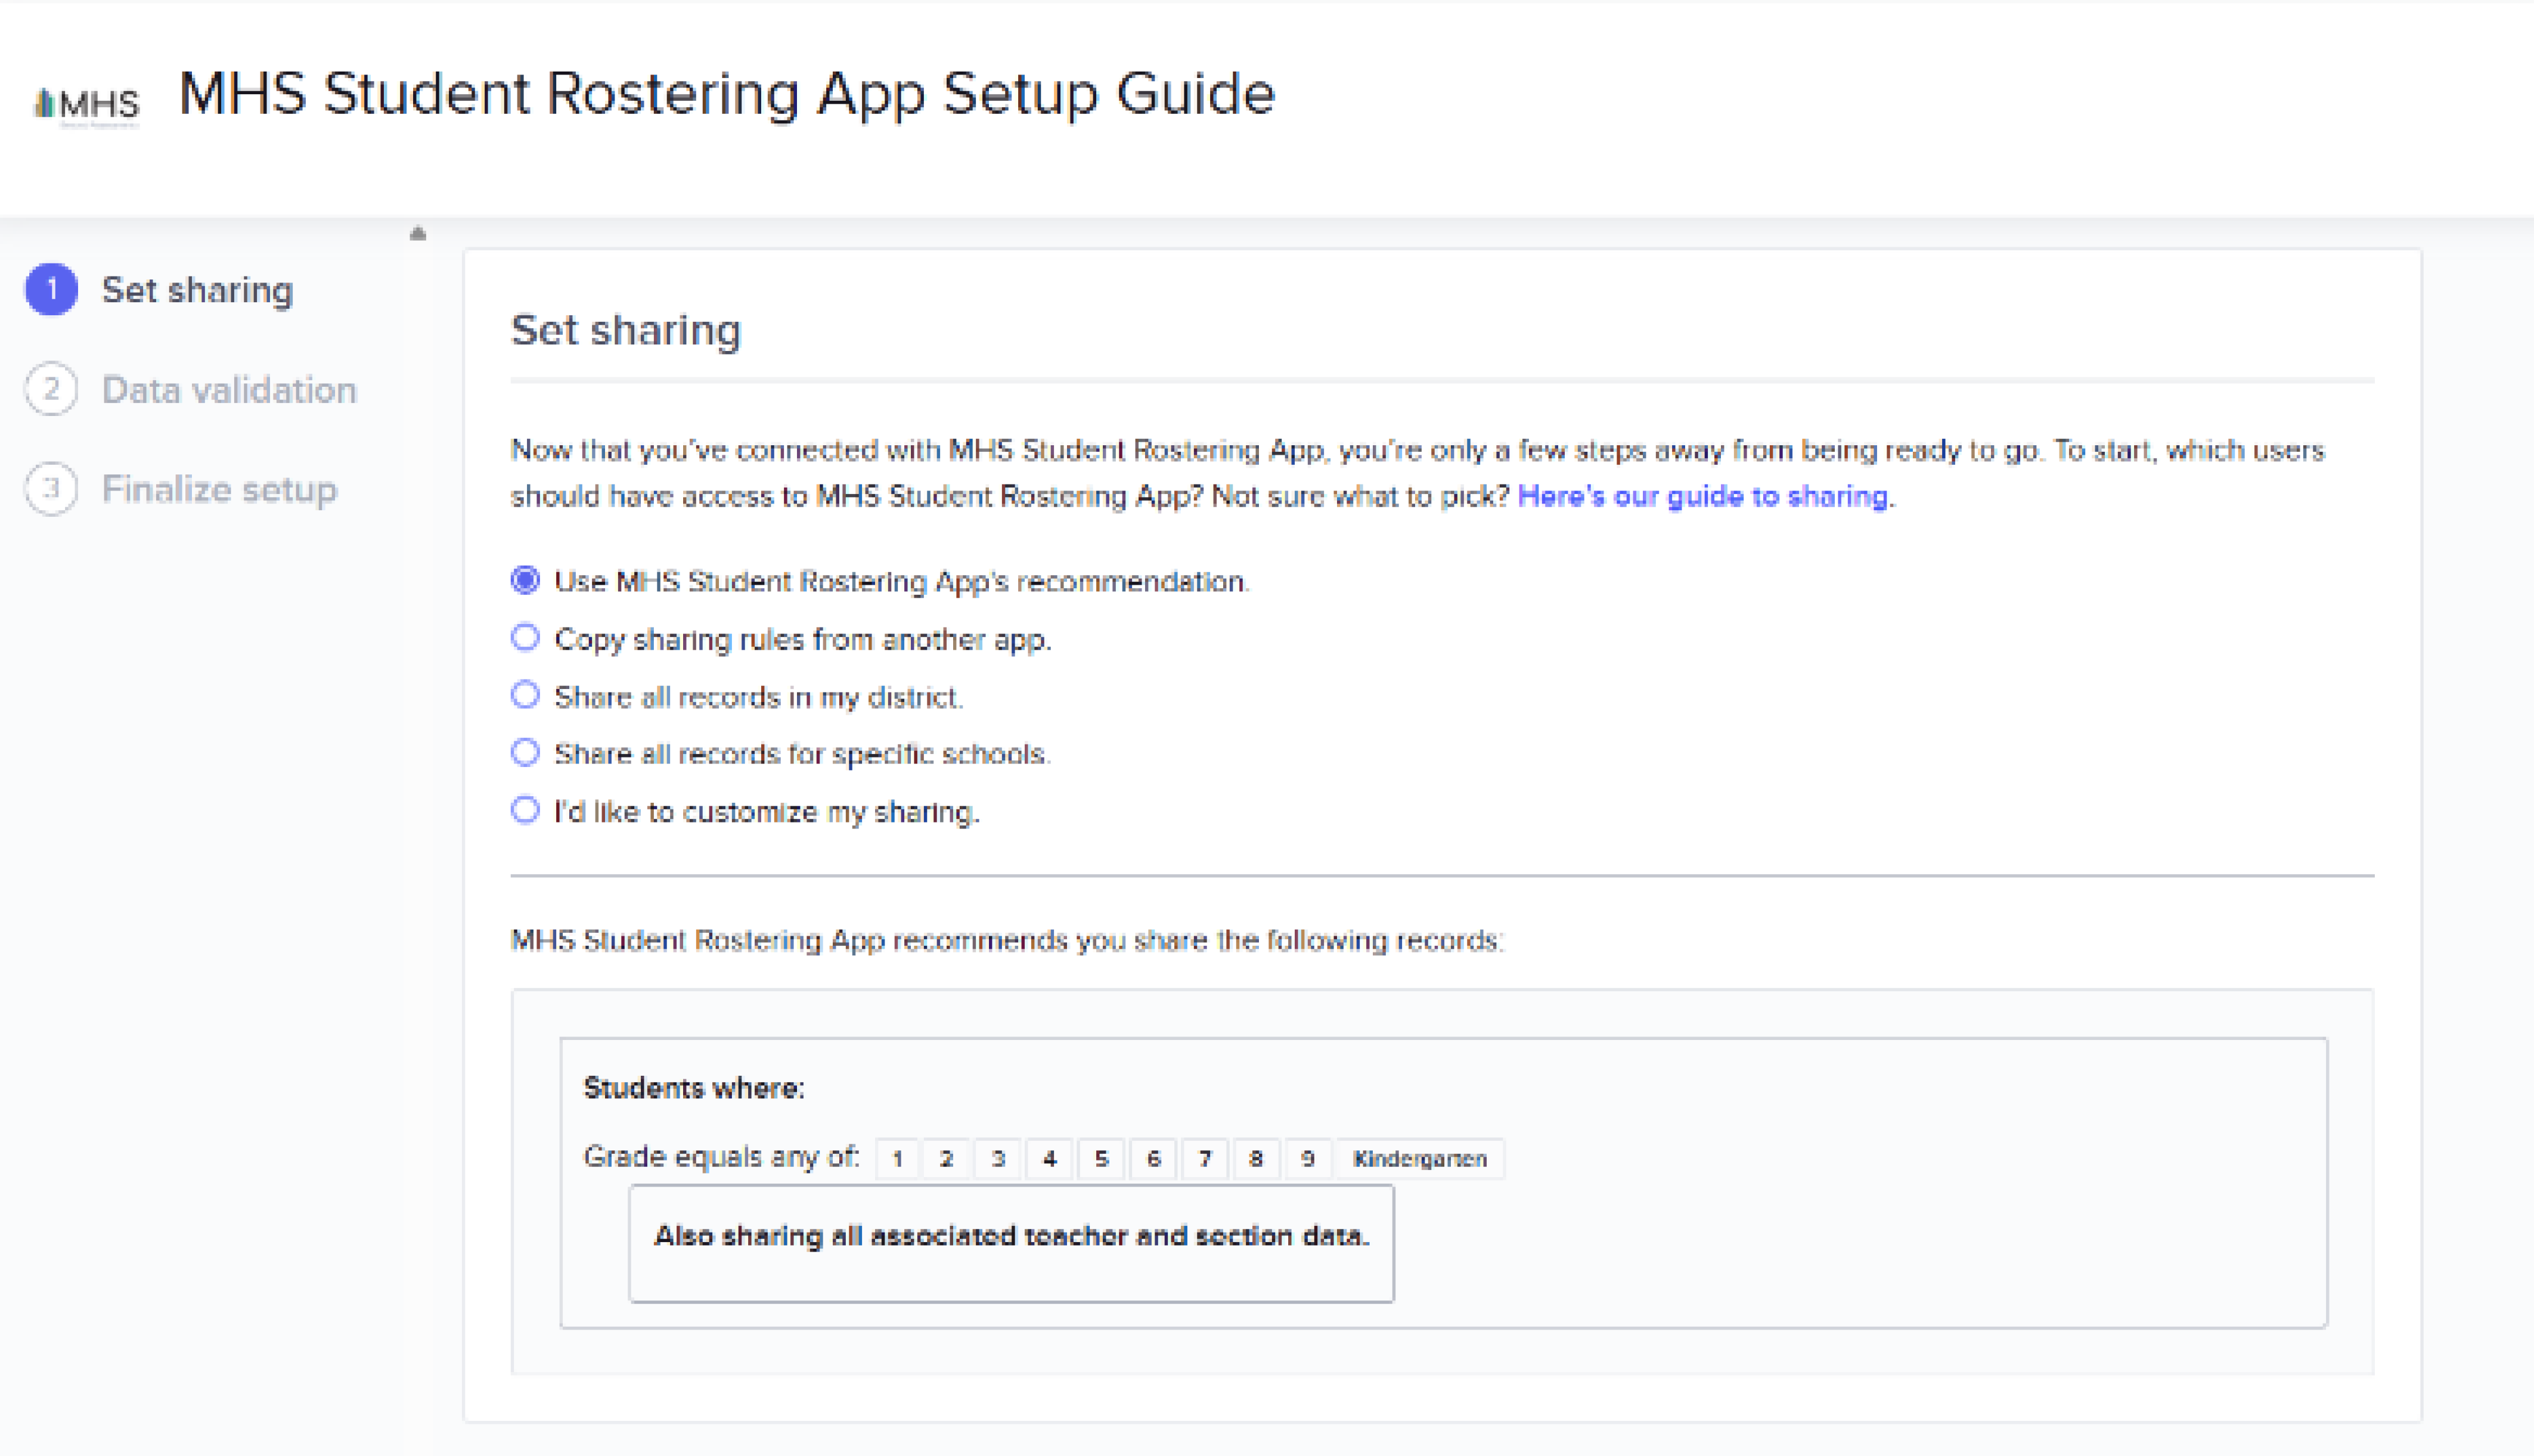
- Set Sharing – Use the sharing recommendation provided in the MHS Student Rostering App or select the other options that best suit your district’s needs (see screenshot below).
- Data Validation – Clever will automatically check your data to ensure it meets our rostering requirements.
- Finalize – Once validation passes, you'll finalize the setup and begin sharing data with us.
- Once you've accepted the invitation, you'll need to complete the MHS Student Rostering App Setup Guide in Clever before data can begin syncing. This includes:
- Log in to the MGI Application
- Navigate to Data Integration > Rostering > REST API, then select Clever from the provider dropdown.
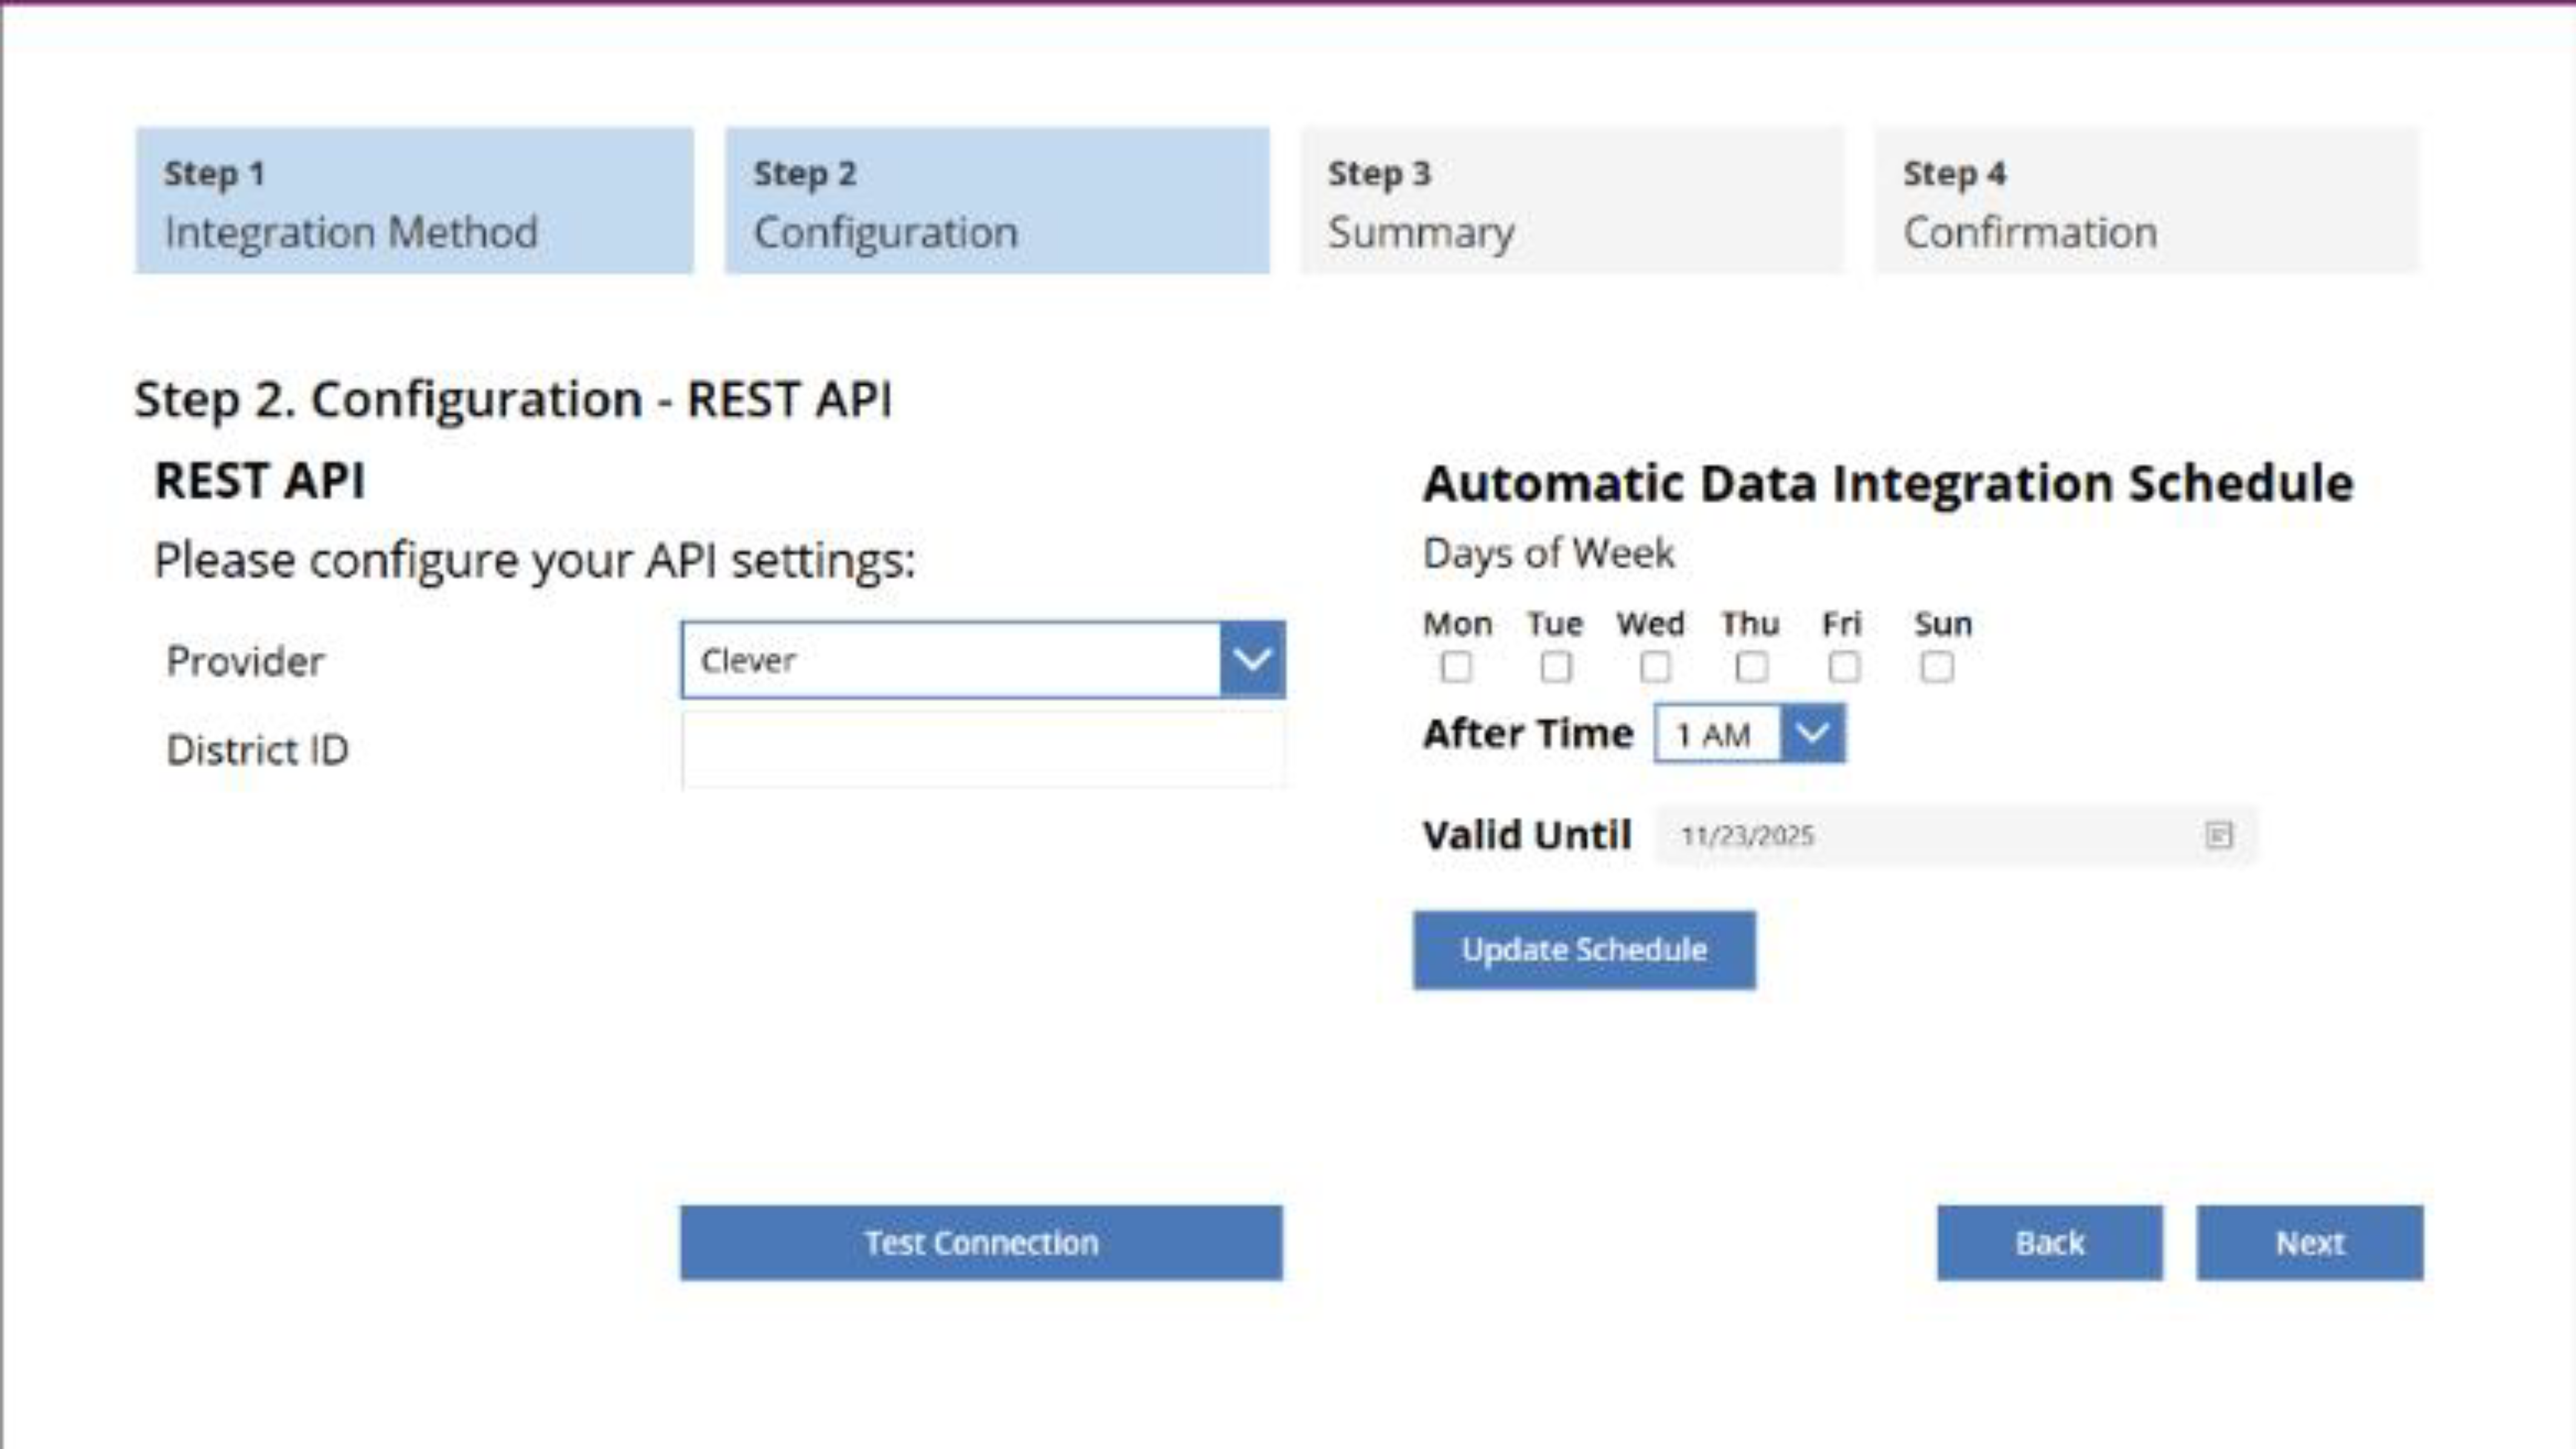
- Enter Clever District ID
- Input your Clever District ID and verify the connection by selecting Test Connection.
- Test and Activate Sync
- Run a test sync to check data integrity.
- If there aren’t any issues with your upload, select Next and Approve to complete the merge of your data into the MGI.
- NOTE: To enable continuous updates from your SIS, you may configure an automatic sync schedule. For instructions, proceed to Automatic Data Sync for details on how to set up a schedule.
If you encounter issues during setup, double-check the following:
- The Clever District ID was entered correctly.
- Your rostering request has been accepted in Clever.
- All steps were followed in the correct order.
If you continue to experience problems, please contact the Implementation Team at [email protected]